Working with Course Files
1. Receiving the Files
- Typically, Curriculum Services (curriculumservices@tru.ca) will send an email to the OLFM with course files attached.
- The course files will come in a zipped folder.
![]()
A zipped folder is a compressed folder that reduces the size and allows for multiple folders and files within a file for easy emailing.
Once you have received your zipped folder:
- Move it or save it to your computer.
- Then “Extract All” the files in order to work with them.
- Until extracted you will get a “Read Only” message at the top of the word file.

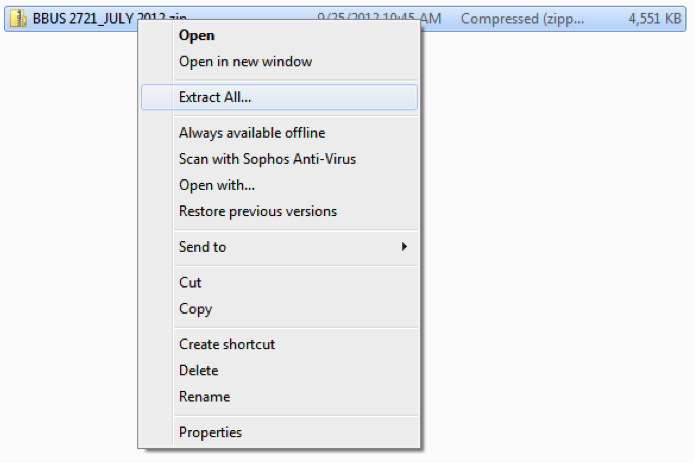
2. Extracting the Files
To “Extract All” right click on the zipped folder, select “Extract All”.
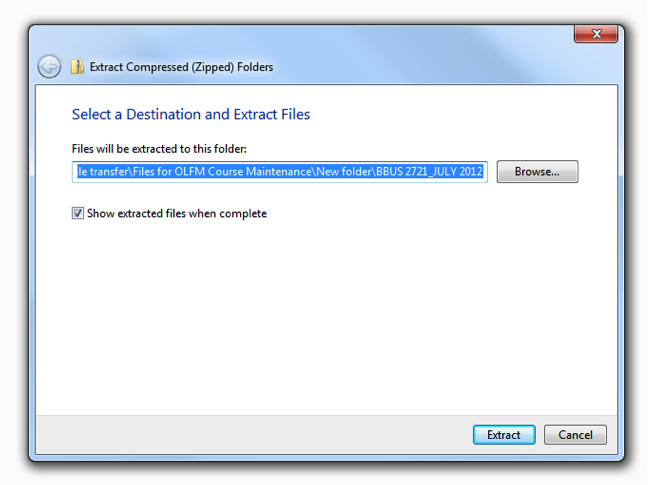
3. Saving the files
- You will then receive a prompt on where to save it.
- It will automatically default to the same location where you have the zipped folder or you can choose a location by clicking the “Browse” button.
- Then select “Extract” in the bottom right corner.
Depending on the folder size it may take a minute to extract it:
- The extraction process copies the files and creates another folder.
- Both folders will then be visible.
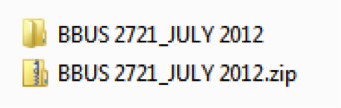
From this point on you will only work with the extracted folder. The zipped folder is only there as a duplicate backup.
4. Verify the files
Before working with the files:
- verify that you have all course files you need
- verify that they are the most recent files (the ones you have been using to deliver the course)